Showing posts with label neon. Show all posts

Tuesday, 9 June 2015

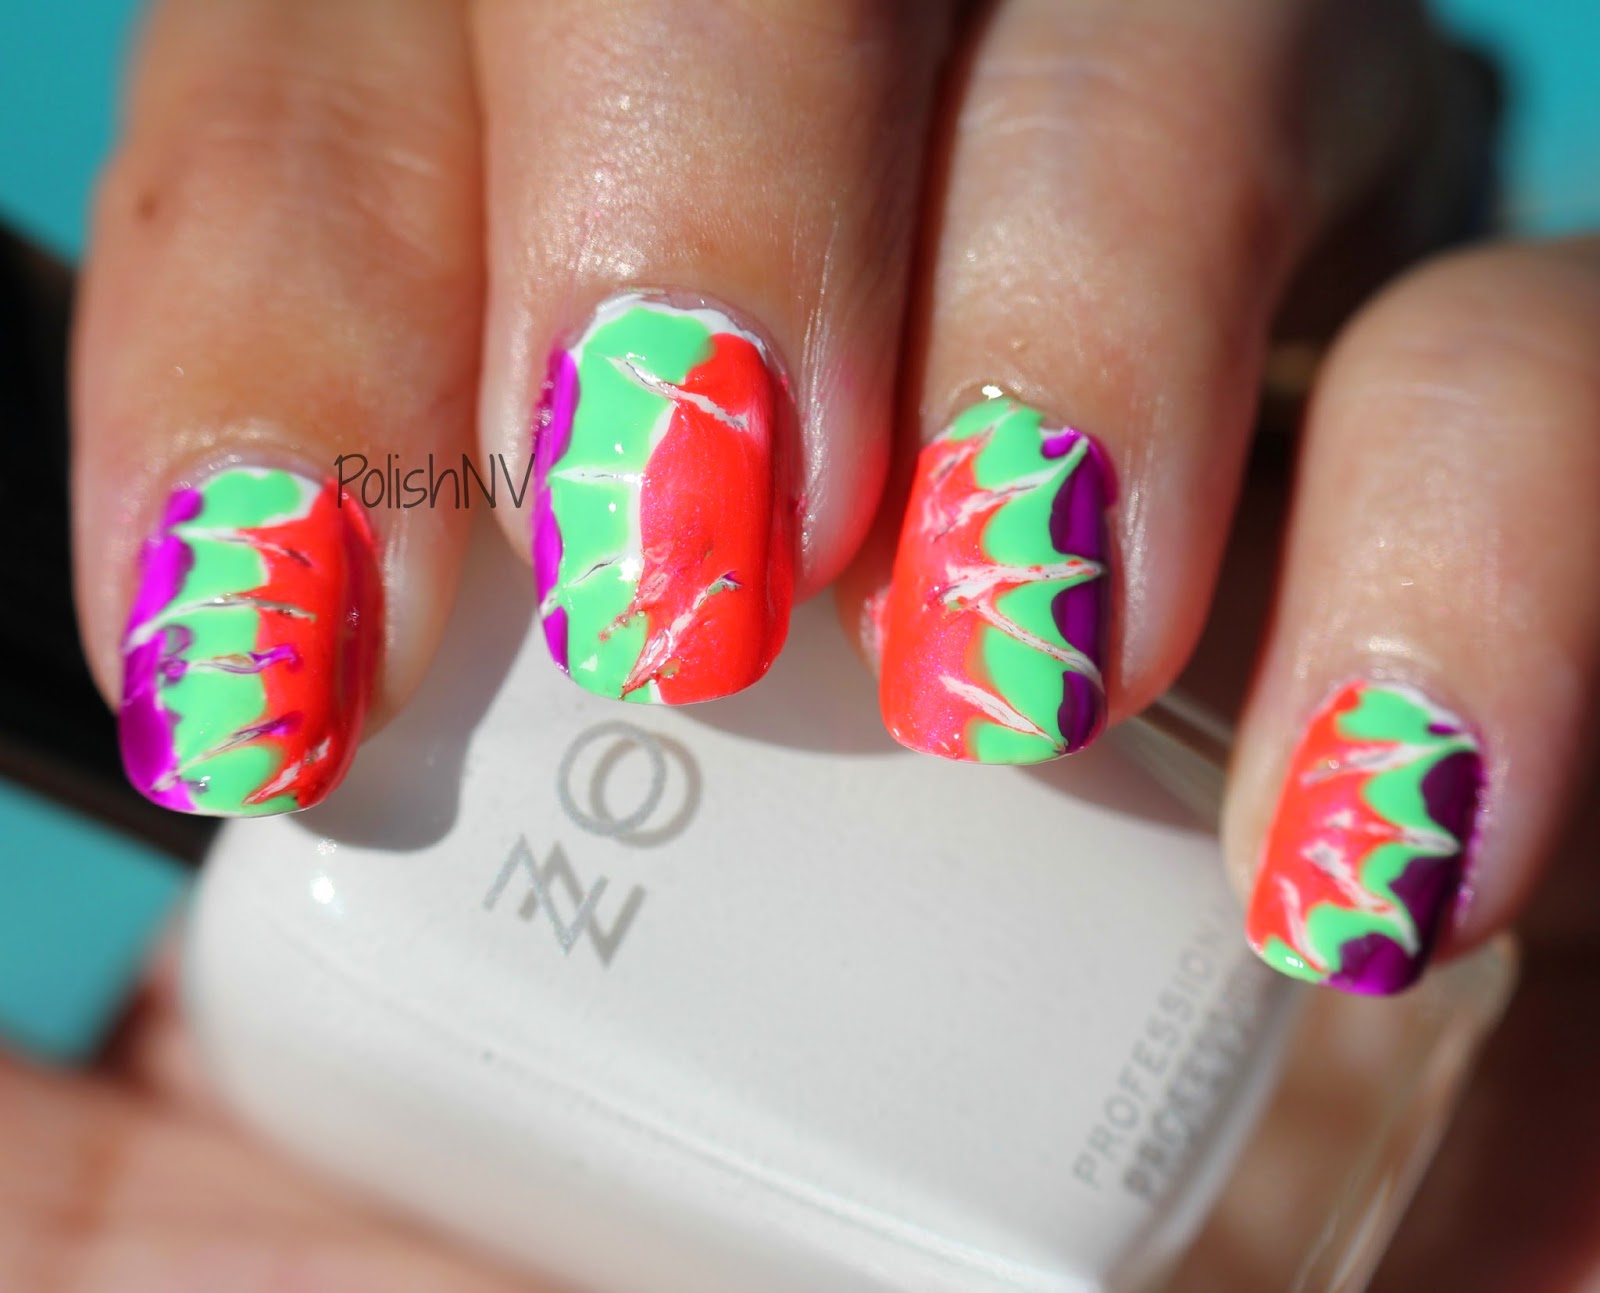
Girly Bits neon water marble

Hi everyone,
Sorry for yet another prolonged absence. Life, what can you do?

Anyway, I am back with an attempt at a water marble. Don't judge the skills. I know they are lacking. I still like the outcome though.

For this water marble, I used Girly Bits Hooperchondriac, Thump Your Melons, and Hip Hoop Hurray. That would be green, orange, and purple! Had no issues using these polishes for water marbling. Any issues you see are my skills and not the polish. These photos were quickly taken on my phone after some clean up. You'll notice that more clean up is still needed which is making for fingers look a bit dirty. Sorry about that.


If you are looking for neon nail polish I really encourage you to check out the line that Girly Bits Cosmetics just released. I admit that I have already used them for quite a few mani's and pedi's. You can find the collection HERE.

Thanks for checking this post out. Hope you enjoyed!

*polish purchased by me and all opinions are my own*

Tuesday, 28 October 2014

Rica Leopard Spot Glitter Polishes Swatches

Today I have three new glitter toppers from Rica Polish. All three feature the new leopard spot glitters that are popping up in polishes. Post is pic heavy! 

L - R: LF Neon Leopard, The Cat's Meow, Purrfectly Kissed
Rica leopard glitter polishes

Quick rundown for you. All of these required the leopard spots to be fished out. These have what I call a "slippery" base. Meaning the glitter slides off the brush as you take it out of the bottle. All are finished with a coat of Nail Pattern Boldness Glitter Food and a top coat.

Purrfectly Kissed features a pastel pink leopard glitter with various pastel glitters and micro blue glitter. Layered over Barielly Money Talks. This is two coats of the smaller glitters and placing of the leopard spots. The fishing was fairly easy with this one.

Rica Purrfectly Kissed

Rica Purrfectly Kissed

Rica Purrfectly Kissed

Rica Purrfectly Kissed

LF Neon Leopard ( Lisa Frank inspired ) Features white leopard with various bright and black glitter in micro and small sizes. One coat layered over Illamasqua Grab. This had the best coverage of the bunch. One leopard came out of the bottle on its own. The rest were placed but the easiest to fish.
Rica LF Neon Leopard

Rica LF Neon Leopard

Rica LF Neon Leopard

Rica LF Neon Leopard

The Cat's Meow is a silver holographic leopard with silver, blue, and purple holo glitters. This was the sparsest coverage of the three.  At times I would only have one glitter on the brush. This also required a lot of effort to get the leopard spots out of the bottle. This is layered over Obsessive Compulsive Cosmetics Pagan. I really loved the combo of these two together.

Rica The Cat's Meow

Rica The Cat's Meow

Rica The Cat's Meow

Although these don't have the greatest application, I do like the way they look. Tons of layering options with these too. What do you think? Worth the effort? These polishes are available from Rica's Etsy Shop.
Thanks for sticking through the whole post.

*polish purchased by me and all opinions are my own*

Tuesday, 26 August 2014

Tie Dye Nail Art with OPI Neons

This was such a fail. Thought I would share anyway. It was quite hot the day I did this. I think the polish was drying too quickly. Oh well. Live and learn, right?
The white base is Zoya Purity. The neons are OPI You Are So Outta Lime, Push & Pur-pull, Down To The Core-al.

tie dye nail art

opi neons

tie dye nail art

opi neons

opi neons

Even though it didn't turn out the best, I think it still looks like tie dye! And I love any excuse to break out the neons! Thanks all for the visit. Hope to see you back soon.

Tuesday, 29 July 2014

Too Pop To Handle by KBShimmer

Hello again. Today I have another polish that tried to break my camera while photographing it! I've worn a lot of those lately.

Too Pop To Handle is a densely packed textured glitter polish. Neon purple base with holographic magenta, pink, purple, and blue glitters. This is what gave my camera fits. So much holo goodness. I used two coats plus two coats of Clearly On Top to smooth it out. Because this is so packed with glitter, you may need to dab a bit to cover lighter spots. This dries to a semi matte finish without top coat.

KBShimmer Too Pop To Handle

KBShimmer Too Pop To Handle

KBShimmer Too Pop To Handle

KBShimmer Too Pop To Handle

Were those photos bright enough for you? This polish is from the early summer 2014 collection. I should mention that I used a peel off base with this. If you don't use one, you will have the typical glitter removal nightmare! There is a lot of glitter in this!

Thanks for the visit.
*polish purchased by me and all opinions are my own*

Wednesday, 4 June 2014

China Glaze Lotus Begin and Born Pretty water decals

China Glaze Lotus Begin from the City Flourish collection.

I'm really not to sure where to start with this one. The photos are deceiving in my opinion. The formula for this polish is truly terrible. It's chalky and streaky and uneven and terrible. Did I say terrible. I meant TERRIBLE. I used three coats and it was still uneven. I then added two coats of top coat trying to get it to level off, but that only helped a bit. I realize it isn't that noticeable in the pics, you'll have to take my word for it. I like the colour of this polish though. To me it is like a neon and a pastel had a baby this is what you would end up with. Does that even make sense?

china glaze lotus begin

china glaze lotus begin

china glaze lotus begin

So, I wasn't really diggin' it and decided to add some feather water decals that I got ages ago from the Born Pretty Store. I applied the middle finger first and it was sliding all over the place, so it was easy to get it where I wanted it. Applied the ring finger and it wouldn't budge? Have no idea why. The application process was exactly the same. Now I had an oddly place feather. Oh well : )

born pretty water decal feather

born pretty water decal feather

Thoughts on this polish? I know I have read some mixed reviews on this collection. So far, I'm not impressed. Maybe some of the other shades with turn out to be better. The decals I liked. I find decals to be a simple and fun alternative to do it yourself nail art. Anyone can manage water decals and there are a ton of design options available.

Thank you for the visit and I hope you enjoyed!

*products purchased by me and all opinions are my own*

Thursday, 29 May 2014

OPI Neons 2014 Sponged Nail Art Manicure

Today I have a sponged manicure using all of the OPI Neons that were just released.

All colours were randomly dabbed on using a make up sponge over a white base. These are easy nails to do, even if you have no nail art skills.

opi neons 2014

opi neons 2014

opi neons 2014

opi neons 2014

I have to say that the colours are much brighter in person. They really are neon shades! Always classic for summer. I am sure I will never get tired of neon.
Hope you enjoyed today's post :)

Friday, 7 March 2014

Formula X For Sephora in Zap

So.... Have I mentioned before that I'm not a fan of yellow.
This is Zap. It's part of the neon line from Formula X for Sephora. It's yellow. And really sheer. And really nasty. Sorry, I said it. Maybe it's just because I don't like yellow, but I just couldn't like this. The only good thing I can say is that I didn't end up with lobster hands. Anyway, the photos show 4 coats of Zap. As you can see, still lots of VNL. It dries to a waxy finish. No top coat in the pics.

Zap

Formula X For Sephora

Zap

Formula X For Sephora

So, if you own this and haven't tried it yet, I recommend using a white base to eliminate the visible nail line. I personally, won't be wearing this again, but will keep it for now. Maybe for nail art? I've tried a few of the Formula X shades and for the most part, I'm pretty happy with this brand. Huge selection in store. And of course available online as well at Sephora.

Thanks for stopping by, and I promise my next post will have something prettier!

*polish purchased by me and all opinions are my own*

Tuesday, 18 February 2014

Rainbow Honey Magic Cake and The Kraken swatches and review

Good day everyone! Today I have two Rainbow Honey polishes that were sent for review. Magic Cake and The Kraken. Both of these are from the Summer 199X collection.

We'll start with Magic Cake. This is a glitter topper. Neon glitter is various shapes and sizes. Pink, green, yellow and blue. Also some iridescent flecks. I used two coats of Magic Cake over Formula X for Sephora in Zap. No issues to report with application. Didn't need to fish out the larger glitter. Smooth with a top coat.

Rainbow Honey Magic Cake

Rainbow Honey Magic Cake

Rainbow Honey Magic Cake

Rainbow Honey Magic Cake

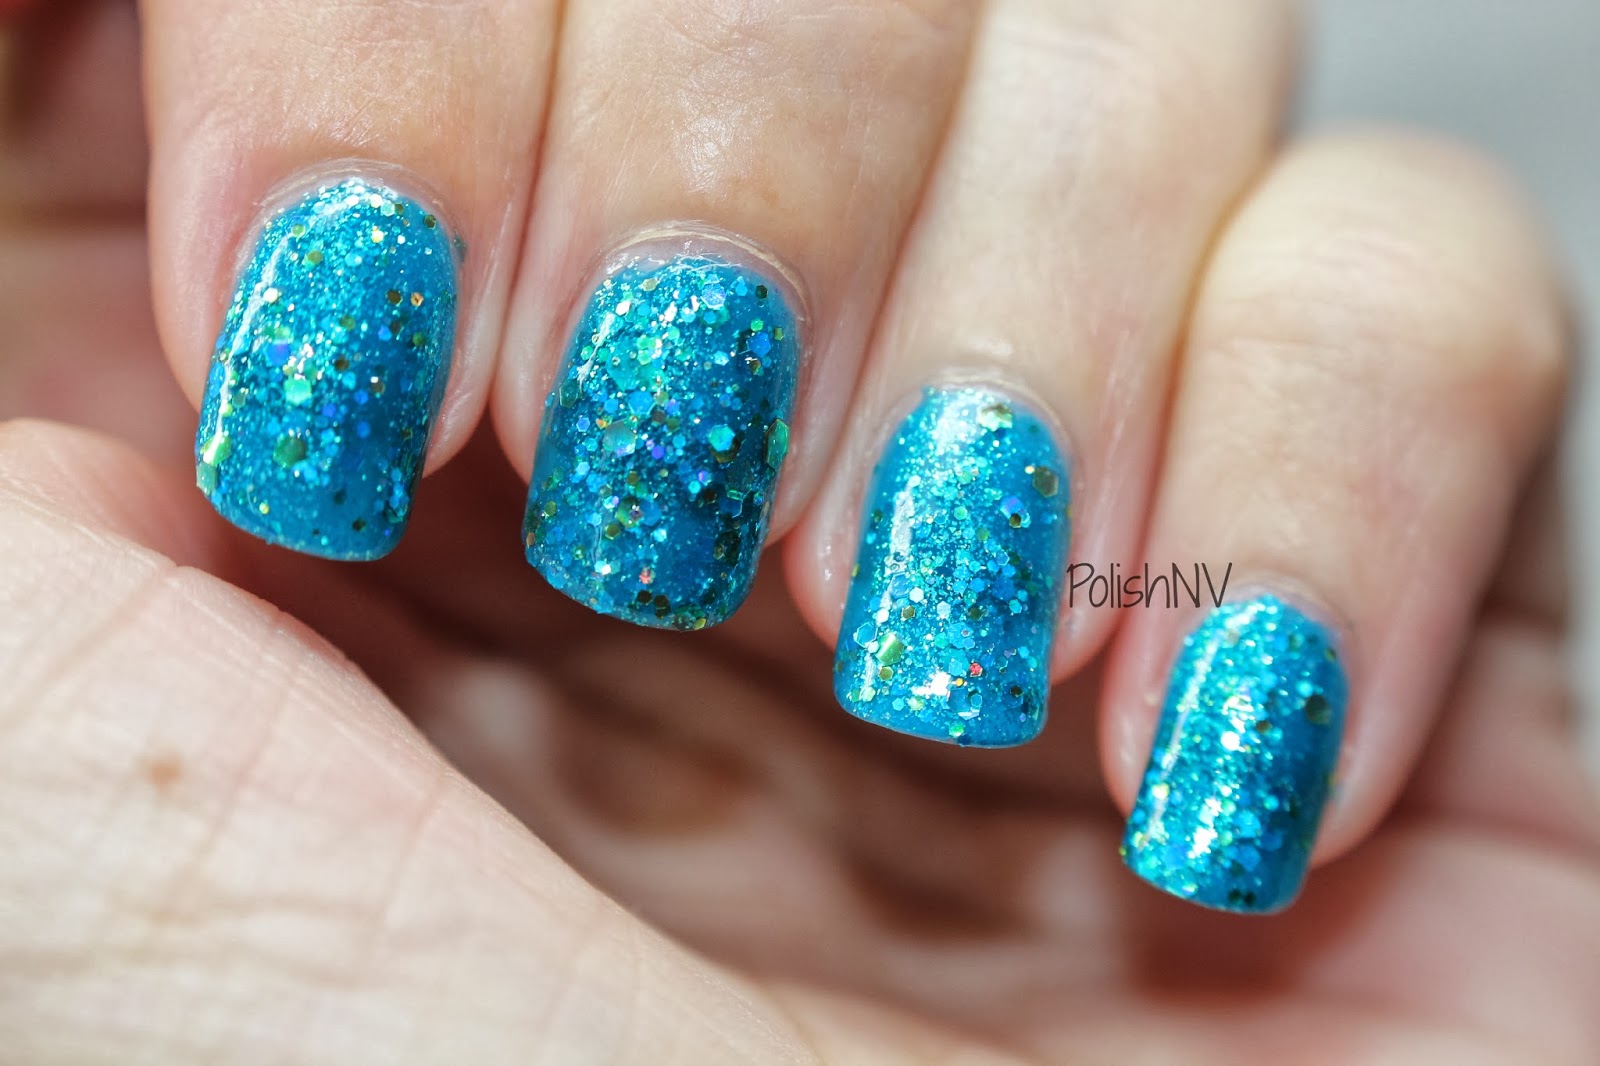
The Kraken is a blue jelly filled with glitter and shimmer in blues and bronze. It's actually kind of hard to tell. They all blend together really well. Pretty good coverage for a jelly. I used three coats plus top coat. I have to mention that at least on my nail it did tend to have a bit more of a green/teal lean to it. Couldn't quite capture that in the pics. I liked this one too! Normally blues aren't my thing so I was pleasantly surprised.

Rainbow Honey The Kraken

Rainbow Honey The Kraken

Rainbow Honey The Kraken

Rainbow Honey The Kraken

Rainbow Honey polishes are available HERE. They are also now being carried at Nail Polish Canada, which you can find HERE. There are also other retailers worldwide. You can find a list of them at the Rainbow Honey site.
Thanks for stopping by today!

*polish provided for review. all opinions are my own*

Thursday, 10 October 2013

Julep orange shades

With Halloween and autumn here, I thought I would swatch some orange shades to help you find what you might be looking for! I know I constantly sit down and start thinking about what the right shade would be for a particular design. Today I am starting with three Julep shades for you.

Hayden is described as a neon peach creme. This definitely leans orange to me. Maybe it's just my skin tone. I have used two coats plus top coat. As it's a neon it does dry to a matte finish. Applies nicely, but as you can see, my polish has some areas that the pigments won't mix together any longer. Unfortunately this is visable on the nail. Yes! I did shake, rattle, and roll! Nothin'.

Julep Hayden

Julep Hayden

Julep Hayden

Julep Hayden

Kaylen is a bright/neon orange crelly. Officially they call this a creme, but no, it isn't. Dries matte, so you'll need a shiny top coat. I have used three coats and still have vnl. Not so noticeable in the pics, but it definitely is in person. My brush in this was wonky, it looks like it has swelled up, making it difficult to apply. Other then that, I like the colour.

julep kaylen

julep kaylen

julep kaylen

julep kaylen

Parker is a tangerine creme. Full coverage in two coats, but be careful of pooling at the cuticles. The formula is a bit thin. Photos are with top coat. This is my personal favourite of the three!

julep parker

julep parker

julep parker

julep parker

Julep polish can be found HERE. They currently have some sales going on as well. Thanks for stopping by today!

*polish purchased by me and all opinions are my own*