Quick note that this is a wordy post, which I normally don't do! Read on or scroll to bottom for summary.
When I heard that Picture Polish was releasing a glitter removal base coat, I had to have it. Anything to make the removal of glitter polish is a must have as far as I'm concerned. Currently I either use the foil or glue methods. The foil works of course, but it is time consuming and a bit messy. Peel off glue is great, but I find my manicures just don't last. I'm lucky to get to the 24 hour mark. Enter Revolution, a base coat that doesn't peel off, but is supposed to make the removal process a lot easier. The following insert is taken directly from the picture polish site and these are the directions I followed.
Using ‘Revolution’ base enables you to remove your glitter polish similar to normal nail polish!
Application
Apply 2 coats of Revolution as your base (allow drying time in between)
Revolution dries fast, is not PVA Glue, does not a peel off
Also can be used as a top coat for ‘foil manicures’ discovered by Cathy from More Nail Polish!
Apply your glitter polish as you normally do
Removal
soak your makeup pad in nail polish remover
cover your nail, soak, leave for 15 seconds, remove
apply more remover to the pad, cover your nail and give it a good scrub
continue the process and the glitter will remove with ease
Please note: Individual results may vary designed to work with piCture pOlish shades.
2 coats of Revolution, 2 coats of Julep Shanae, 2 coats of Digital Nails Wibbly Wobbly, 1 coat of Nail Pattern Boldness Glitter Food and 1 coat of Cult Nails Wicked Fast.
Because Revolution is designed to work with Picture Polish shades, I wanted to put this to the test and try it under a total glitter bomb that wasn't Picture Polish. Let's face it, this is what we all want to know, right!
So, following the instructions, I applied the two coats and waited in between and after. It did not dry fast. I had to wait 10 minutes for it to become tacky. End of patience onto the manicure.
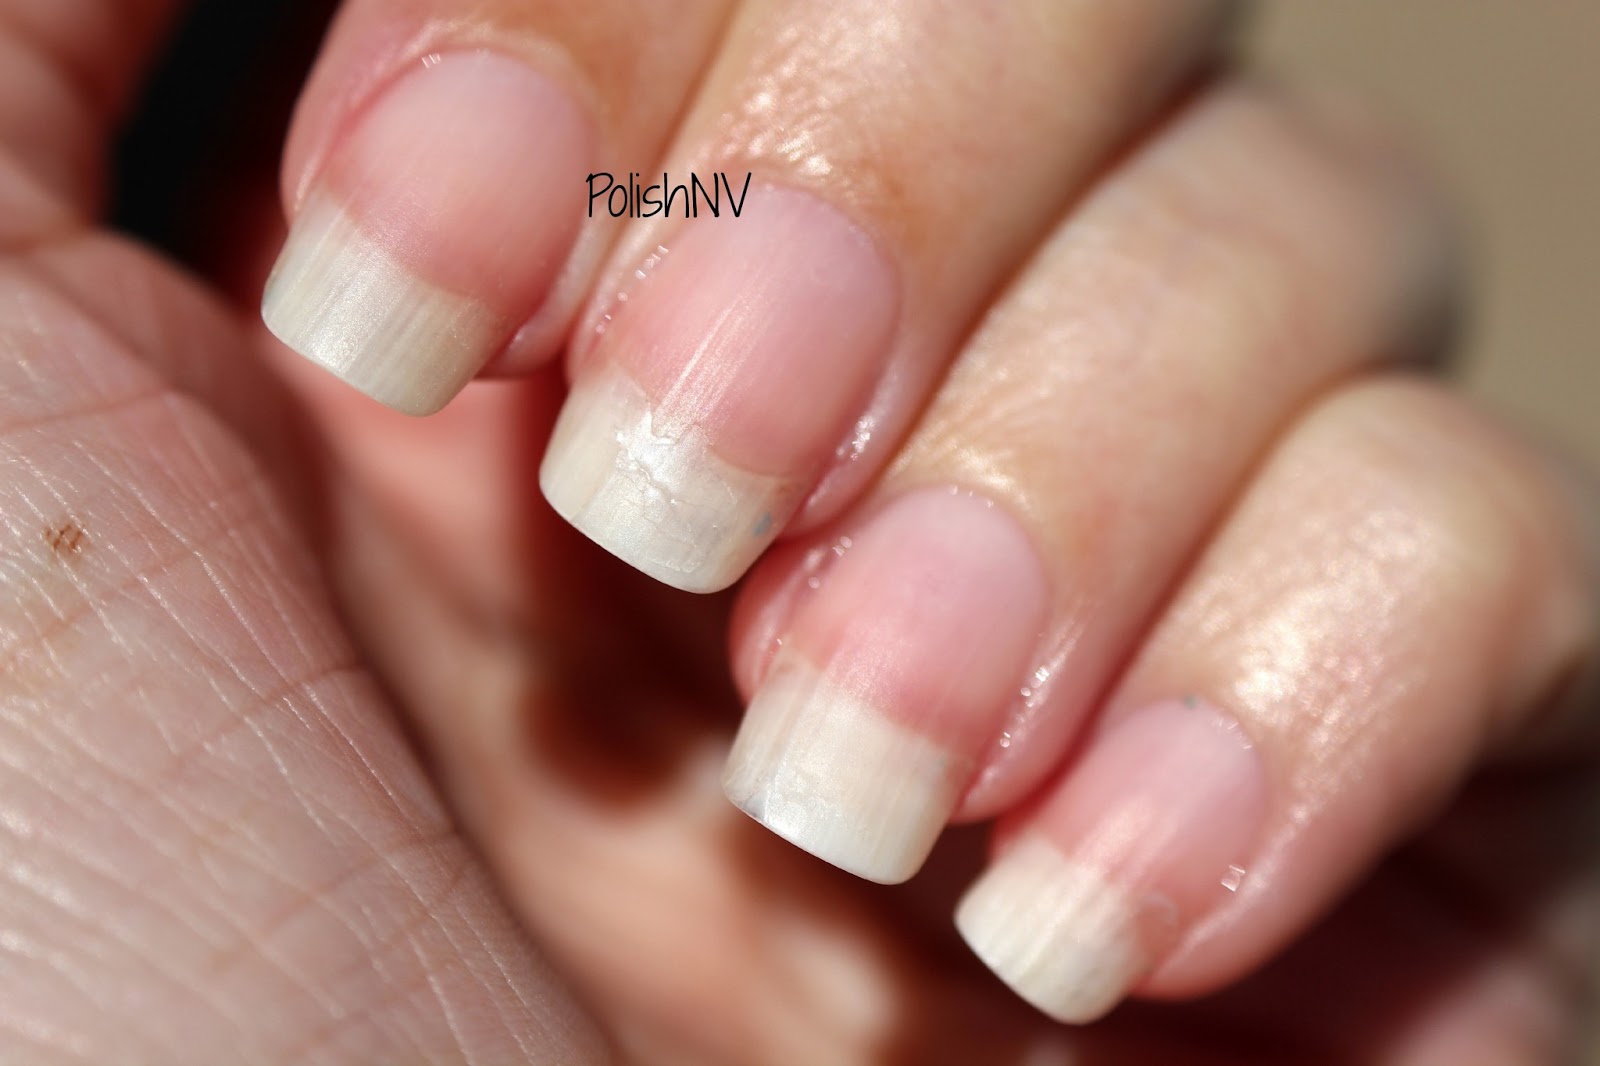
Removal, I again followed directions. When they state to soak, they really mean SOAK. I had to saturate the pad and leave on for minutes, not seconds. Then onto the scrubbing. Sorry I meant to say SCRUBBING. In total it took me 41 minutes of scrubbing.(both hands) At that it was still not great. The large circle glitter refused to budge. I gave up and picked them off with an orangewood stick. I've included in couple after pics for you. The first is how the nails looked after the soak and scrub. The second pic shows my naked nails after I went over everything a second time. It's kind of hard to tell, but there is still a bit of residual on the nails.
IN SUMMARY:
-Took close to an hour to completely remove the full manicure
-I used a mountain of cotton pads and balls
-I used a ton of remover
-No, I did not save time
-No, I didn't think this was easier
I will try this again under a Picture Polish shade to see if it does work better under one of their own products. I won't try it again under a glitter bomb!
If you would like more information on Picture Polish please visit the
website. I do love their polish! They have a network of suppliers that you can find on the website.
Thanks for sticking with me. I know it was long, but I couldn't find a good way to shorten it. Tried my best and I hope you found this useful. I would love to hear what you all think. And if anyone else has tried Revolution, would love to know how it worked for you.
*Product bought and paid for myself. All opinions are my own*